Written Fitting Instructions for our Seal Kits
GaraDry® threshold seals are suitable for use with the following types of manual and automatic garage doors: up-and-over, sectional, roller-shutter and side-hinged.
The threshold seal should only be installed by a responsible adult and due care and attention should be paid when stepping over the threshold seal.
This product is not suitable for use on loose concrete or gravel surfaces. Unsealed concrete floors that have a dusty or powdery surface must be sealed with a concrete sealer prior to installation.
The threshold can be installed on epoxy floors, but if the surface is very smooth it can prevent the adhesive from bonding properly. If your epoxy floor has a smooth or shiny surface, a low-grit sandpaper can be used to dull the surface slightly before installation. The same can be done for very smooth tiles. Remove any dust and debris left behind before proceeding to installation.
Due to coiling in transport, the threshold seal should be laid flat on a clean surface so that it returns to its original shape. The adhesive / sealant should be stored at room temperature prior to application so it can flow freely from the tube. The recommended ambient temperature for applying the adhesive is 5°C to 35°C (40°F to 95°F).
Once fitted allow 24 hours before driving over the threshold. It is also recommended to test the installation after 24 hours using a bucket of water or a hosepipe to check for water ingress.
Preparing the installation area
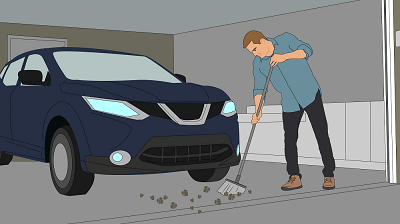
Clean the installation area to remove dust, debris, oil, and grease prior to fitting. If your floor is painted, use a wire brush to remove any loose paint and provide a sound surface for the adhesive to bond properly. Be sure to remove any dust or debris left behind after doing so.
Measure the opening
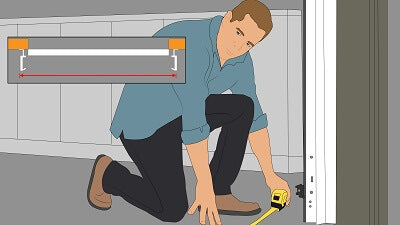
Measure the overall width of the opening between frame or side tracks. Allow an additional 40mm (1 ½”) at each end for the threshold seal t be notched back around the door frame and cut the threshold seal to that required length.
Position the threshold
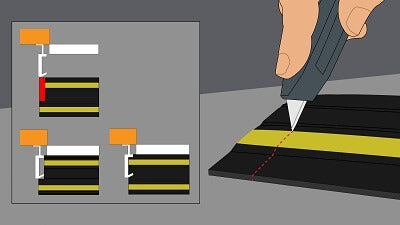
With the door closed, position the threshold seal against the back of the door from inside the garage. Mark where the threshold seal needs to be notched back around the door frame/tracks so it can sit tight against the back of the door. Use a hacksaw or sharp utility knife to cut the threshold seal where you have marked.
Checking the fitting
With the garage door closed, place the threshold seal in position and push it up against the back of the door to create a tight seal. The garage door should close onto the front face of the seal (please ensure the garage door shuts correctly and locks with the seal in position – if it does not, then move the threshold back slightly and re-check. It is also advisable at this stage if you have an electrically operated door that the motor continues to operate normally).
If there is visible daylight, then the threshold seal may need to be cut back further around the door tracks to ensure a tight seal.
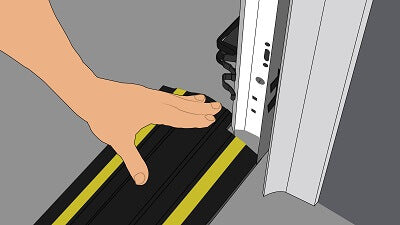
Mark the position
With the threshold seal in position, mark along the back edge of the seal inside the garage with a pencil or marker.
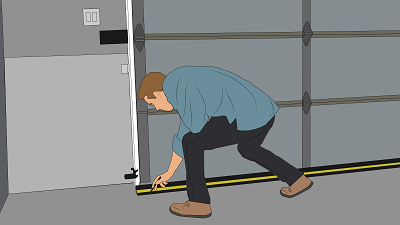
Mark the floor
Open the garage door and mark along the front edge of the seal. Remove the threshold seal from the floor and mark two parallel lines approx. 10mm (⅓”) inside the existing lines. Then mark an unbroken zigzag line inside the inner parallel lines.
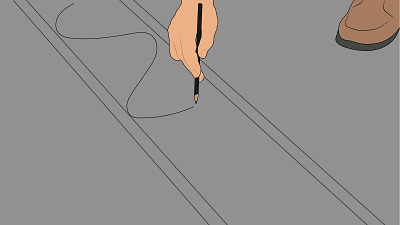
Clean the threshold
Use a clean, dry cloth to remove any dust, debris, oil, and grease from the bottom of the threshold seal. Sweep the floor thoroughly ensuring that it is clean and free from dust, debris, oil, and grease.
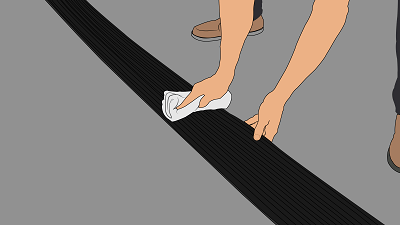
Cut the adhesive tube
Cut the end off the adhesive tube using a hacksaw or sharp utility knife.
Important
The adhesive / sealant should be stored at room temperature prior to application so it can flow freely from the tube. The recommended ambient temperature for applying the adhesive is 5°C to 35°C (40°F to 95°F).
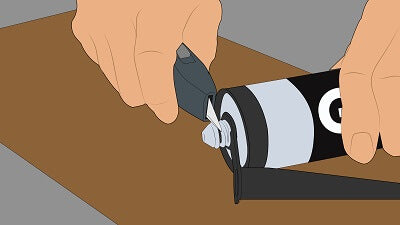
Cut the nozzle
Use a hacksaw or sharp utility knife to cut the adhesive nozzle approx. 15mm (½”) from the tip before fitting the tube into the sealant gun.
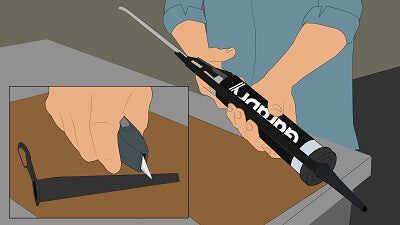
Apply the adhesive
Apply the adhesive to the floor in unbroken lines, following the inner parallel lines marked out in Step 6. Apply an unbroken zigzag line of adhesive between the parallel lines, following the line marked previously.
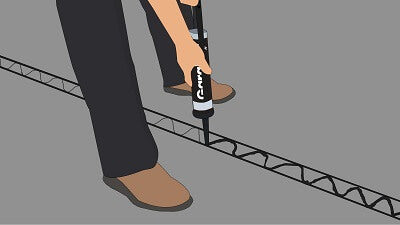
Lay the threshold
Starting at one end, place the threshold seal in position on top of the adhesive and press down firmly. Continue along the length of the threshold seal, pressing down firmly and ensuring good contact in all areas. Take care to keep the threshold seal positioned correctly within the lines marked previously. Remove any excess adhesive from the sides with a clean cloth.
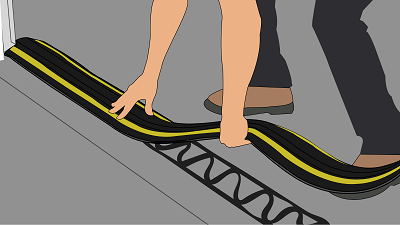
Seal the edges
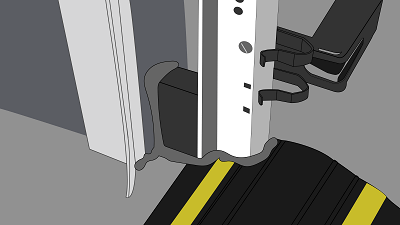
Apply adhesive around the door frame and ends of the threshold seal to ensure a watertight fit. Take care to check for any remaining gaps and apply more adhesive as required.
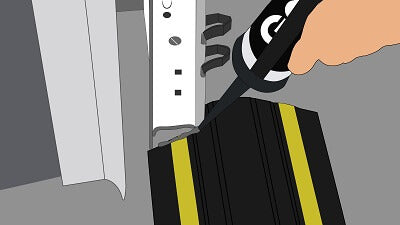
For open side tracks
(For Sectional or roller garage doors with open side tracks)
For doors with open side tracks, GaraDry foam side blocks should be inserted into the space between the wall and the track to prevent water ingress.
1. Measure the distance between the wall and the garage door track.
2. Cut the side block to size using a hacksaw or sharp utility knife.
3. Use plenty of adhesive to stick the side block in position on the floor and wall.
4. Apply unbroken lines of adhesive around the side block where it meets the wall, door, and track.
5. Check for any remaining gaps and apply more adhesive as required.
